The paper cup blank manufacturing process involves several key steps to ensure the production of high-quality paper cup bodies. The process generally includes paper coating, printing, cutting, and shaping the paper into blanks. Here’s a detailed look at each stage:
1. Paper Coating
Before the paper is printed or cut, it undergoes a coating process to improve its functionality. This coating helps to prevent leakage, adds strength, and ensures the paper can handle both hot and cold liquids.
Coating Materials: The most common coatings are Low-Density Polyethylene (LDPE) or Polylactic Acid (PLA) (a biodegradable option).
Process:
- The paper is passed through a coating machine, where a thin layer of coating is applied to one or both sides of the paper.
- The paper is then dried to solidify the coating and ensure it’s evenly distributed.
2. Printing
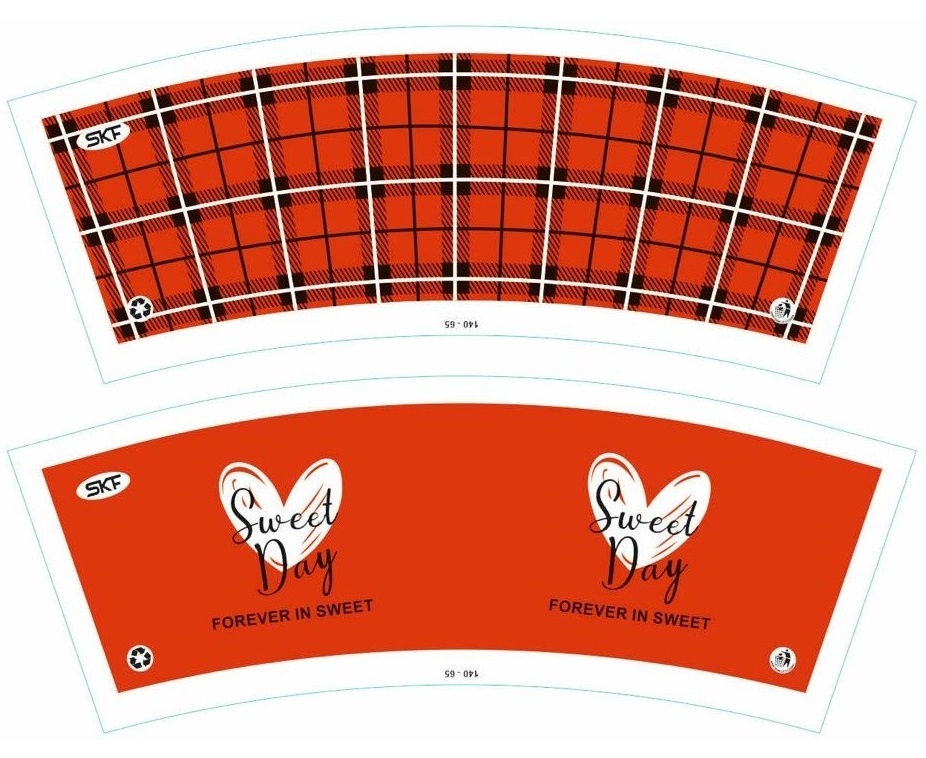
Once the coating is applied and dried, the next step is printing the design or branding on the paper. This is especially important for disposable cups that often feature logos, marketing information, or custom designs.
Printing Methods:
- Flexographic Printing: This is a common printing method used in the paper cup industry. It uses flexible plates to transfer ink onto the paper, offering good quality prints for large runs.
- Offset Printing: Sometimes used, particularly for high-quality prints, although less common for paper cups due to cost and complexity.
Process:
- The paper is fed into a printing machine where ink is applied to the surface.
- The design is printed in specific areas, ensuring that all printed content aligns with the final product.
3. Cutting
After the paper has been coated and printed, it needs to be cut into the proper shape for the paper cup blank.
Cutting Process:
- The coated and printed sheets are placed into a cutting machine.
- The paper is cut into precise shapes (usually a large rectangular sheet) with specific dimensions. This rectangular sheet is what will later be shaped into the body of the paper cup.
- The sheet is pre-cut with a flap along the side, which will later be glued during the final forming process to give the cup its cylindrical shape.
4. Paper Cup Blank Formation
Once the paper is coated, printed, and cut, the final stage is to form the paper cup blank.
- Flap Sealing: The cut and printed paper blank is formed into a cylindrical shape by joining the edges together, usually with glue or an adhesive. The pre-cut flap is overlapped, and the adhesive bonds the edges, forming the wall of the paper cup.
- Preparation for Bottom: The paper cup blank is now a flat cylinder, ready to be paired with the paper bottom roll in the next phase of production.

Summary of the Manufacturing Process:
1. Coating: Paper is coated with LDPE or PLA for leak resistance and strength.
2. Printing: Branding or designs are printed on the coated paper using flexographic or offset printing.
3. Cutting: The coated and printed paper is cut into a rectangular sheet that will be shaped into the body of the cup.
4. Paper Cup Blank Formation: The rectangular sheet is glued to form a cylindrical shape, creating the paper cup blank.
After this process, the paper cup blanks are ready to be paired with the paper bottoms, glued, and shaped into complete paper cups.